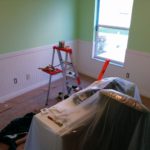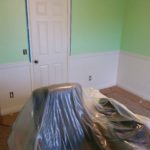
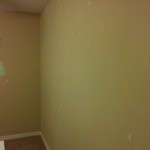
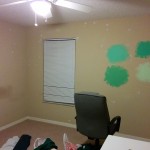
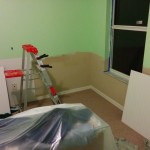
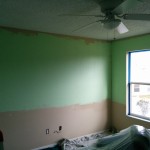
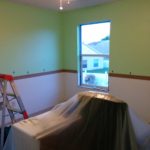
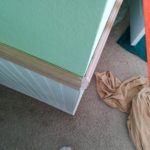
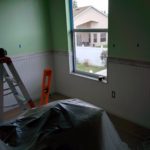
This page is for the baby girl’s room that we decided to do up with bead board instead of the board and batten we did in the guest room. We started by moving all the furniture to the center of the room and doing a bit of covering it up with plastic. Several different greens were tried on the wall before deciding on “sherbert”. I painted down to where the chair rail would be.


Next, I began nailing and gluing up the bead board panels. We considered going with far more expensive tongue-and-groove bead boards in real wood — but, its a kids room and it would all be covered in 3 coats of high end enamel that would hide anything nice about the wood anyway.
For the chair rail and base board, I decided I wanted to do it all from scratch. I had done very simple baseboard and chair rail in our guest room, and it had gone pretty well. This wouldn’t be nearly as simple and I spent a lot of time just prototyping. Along the way I discovered that I wasn’t going to get away with not having a proper router table fence. So, I built one. I started by prototyping the baseboard before doing the real runs.
For the guest room, we had completely removed the base boards and taken the carpets up. This was a lot of work, required a bit of repairs on the drywall and I had seen some baseboard that was built like this:
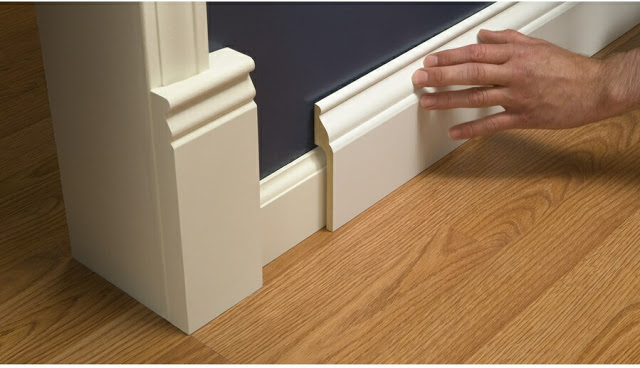
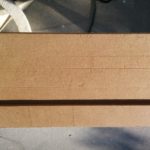
I thought maybe I could make something like that. I tested a new decorative profile and then tested a shape that fit well over my existing baseboard. My first prototype was done by gluing two 1/4″ pieces of MDF together and it worked well. Unfortunately, then I found out that all my local stores don’t sell pieces of 1/4″ MDF in sheets (I bought sheets to save on cost). Sigh… this meant I would have to buy 1/2″ and cut out 1/4″ for most of the board.


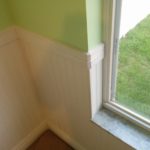
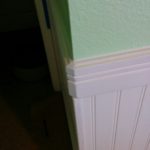
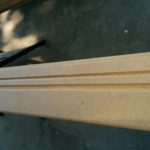
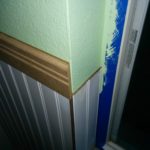
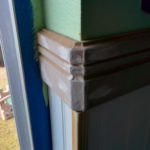
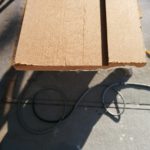
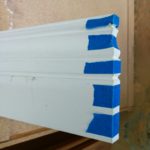
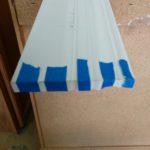
Once I knew the concept worked I went back to production mode and made a whole lot of chair rail. The chair rail was pretty simple. Cut out of 3/4″ MDF with a very simple profile on the top, a round over on the bottom and two grooves — a round nose and a V-cut — in the middle. I tried a lot of designs and this one stuck out to me. I liked it.
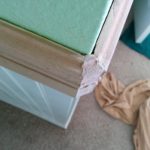
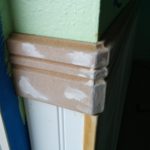
I tried 90-degree corners and it was way too sharp, especially for a kid’s room. So I did what they do in houses with bull-nose corners. They cut two 22.5-degree angle cuts and put a 45-degree wedge in the middle. It rounds the whole thing out and really just looks far nicer.


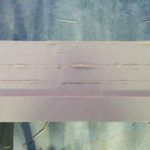
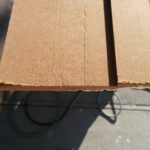
With the chair rail up, I moved back to the baseboard. It was a fairly long and arduous process. I routed out the decorative profile and the round nose and V-bit grooves while it was still rectangular. This made it easier to hold against the router table. Next I ran everything through 4-5 passes on my tablesaw with the dado set. I intentionally left spaces in between to act as supports for the remaining cuts. When I was all done, I broke off the supports and started smoothing it with a chisel and a block plane. It didn’t need to be perfect, there just couldn’t be anything to interfere with the fit over the existing baseboard.
It was primed outside using a newly acquired electric spray gun from HF. It was $20, so I don’t regret the purchase. However, I don’t think it really saved any time as complared to a brush. Lots of set up time, and because you have to thin down the primer it required several coats. As a side note — PLEASE, if you are going to spray anything, move all cars and motorcycles. My motorcycle was behind me, but I forgot about blowback from the wind. $175.00 later for a new coat of clearcoat on my motorcycle’s painted parts. Sigh.
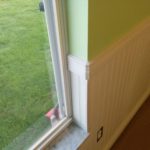
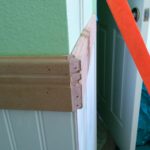
Finally, I did a few returns where the baseboard wouldn’t be covered by the existing door frame.


After that it was fairly simple to put the baseboard on with a bit of construction adhesive and nails. Note that I did do the same rounded corner on the baseboard and that in several places I had to use my oscillating tool to cut away a tiny bit of the existing baseboard to fit it on. Still, way easier than removing the existing baseboard (at least with respect to installation).
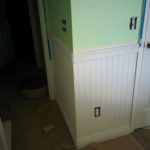

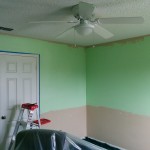
Finally, nothing else to do but to finish priming the chair rail (notice I did not prime that before installation since its pretty easy to prime on the wall, as opposed to baseboard where you have to deal with carpet), lots of caulking (which is fantastic at hiding mistakes) and finally paint. I use a hi-gloss enamel paint on all surfaces (and on the dresser you saw in early shots). I did several coats of this and used a thick roller to get the same subtle texture I got in the guest room.
The room still needs to be decorated but here it is in all its glory!