Panel cut-out trick

In working on my baby daughter’s room, we decided to put up bead board and chair rail.  Kids are hard on paint, and I’d prefer a nice hard enamel based paint and something harder than drywall underneath. Anytime you’re paneling the walls, cut outs for the various outlets can be a bit of a pain. I’m pretty proud of my little invention here:

IMG_20160228_121153IMG_20160228_121145IMG_20160228_121209IMG_20160228_121412

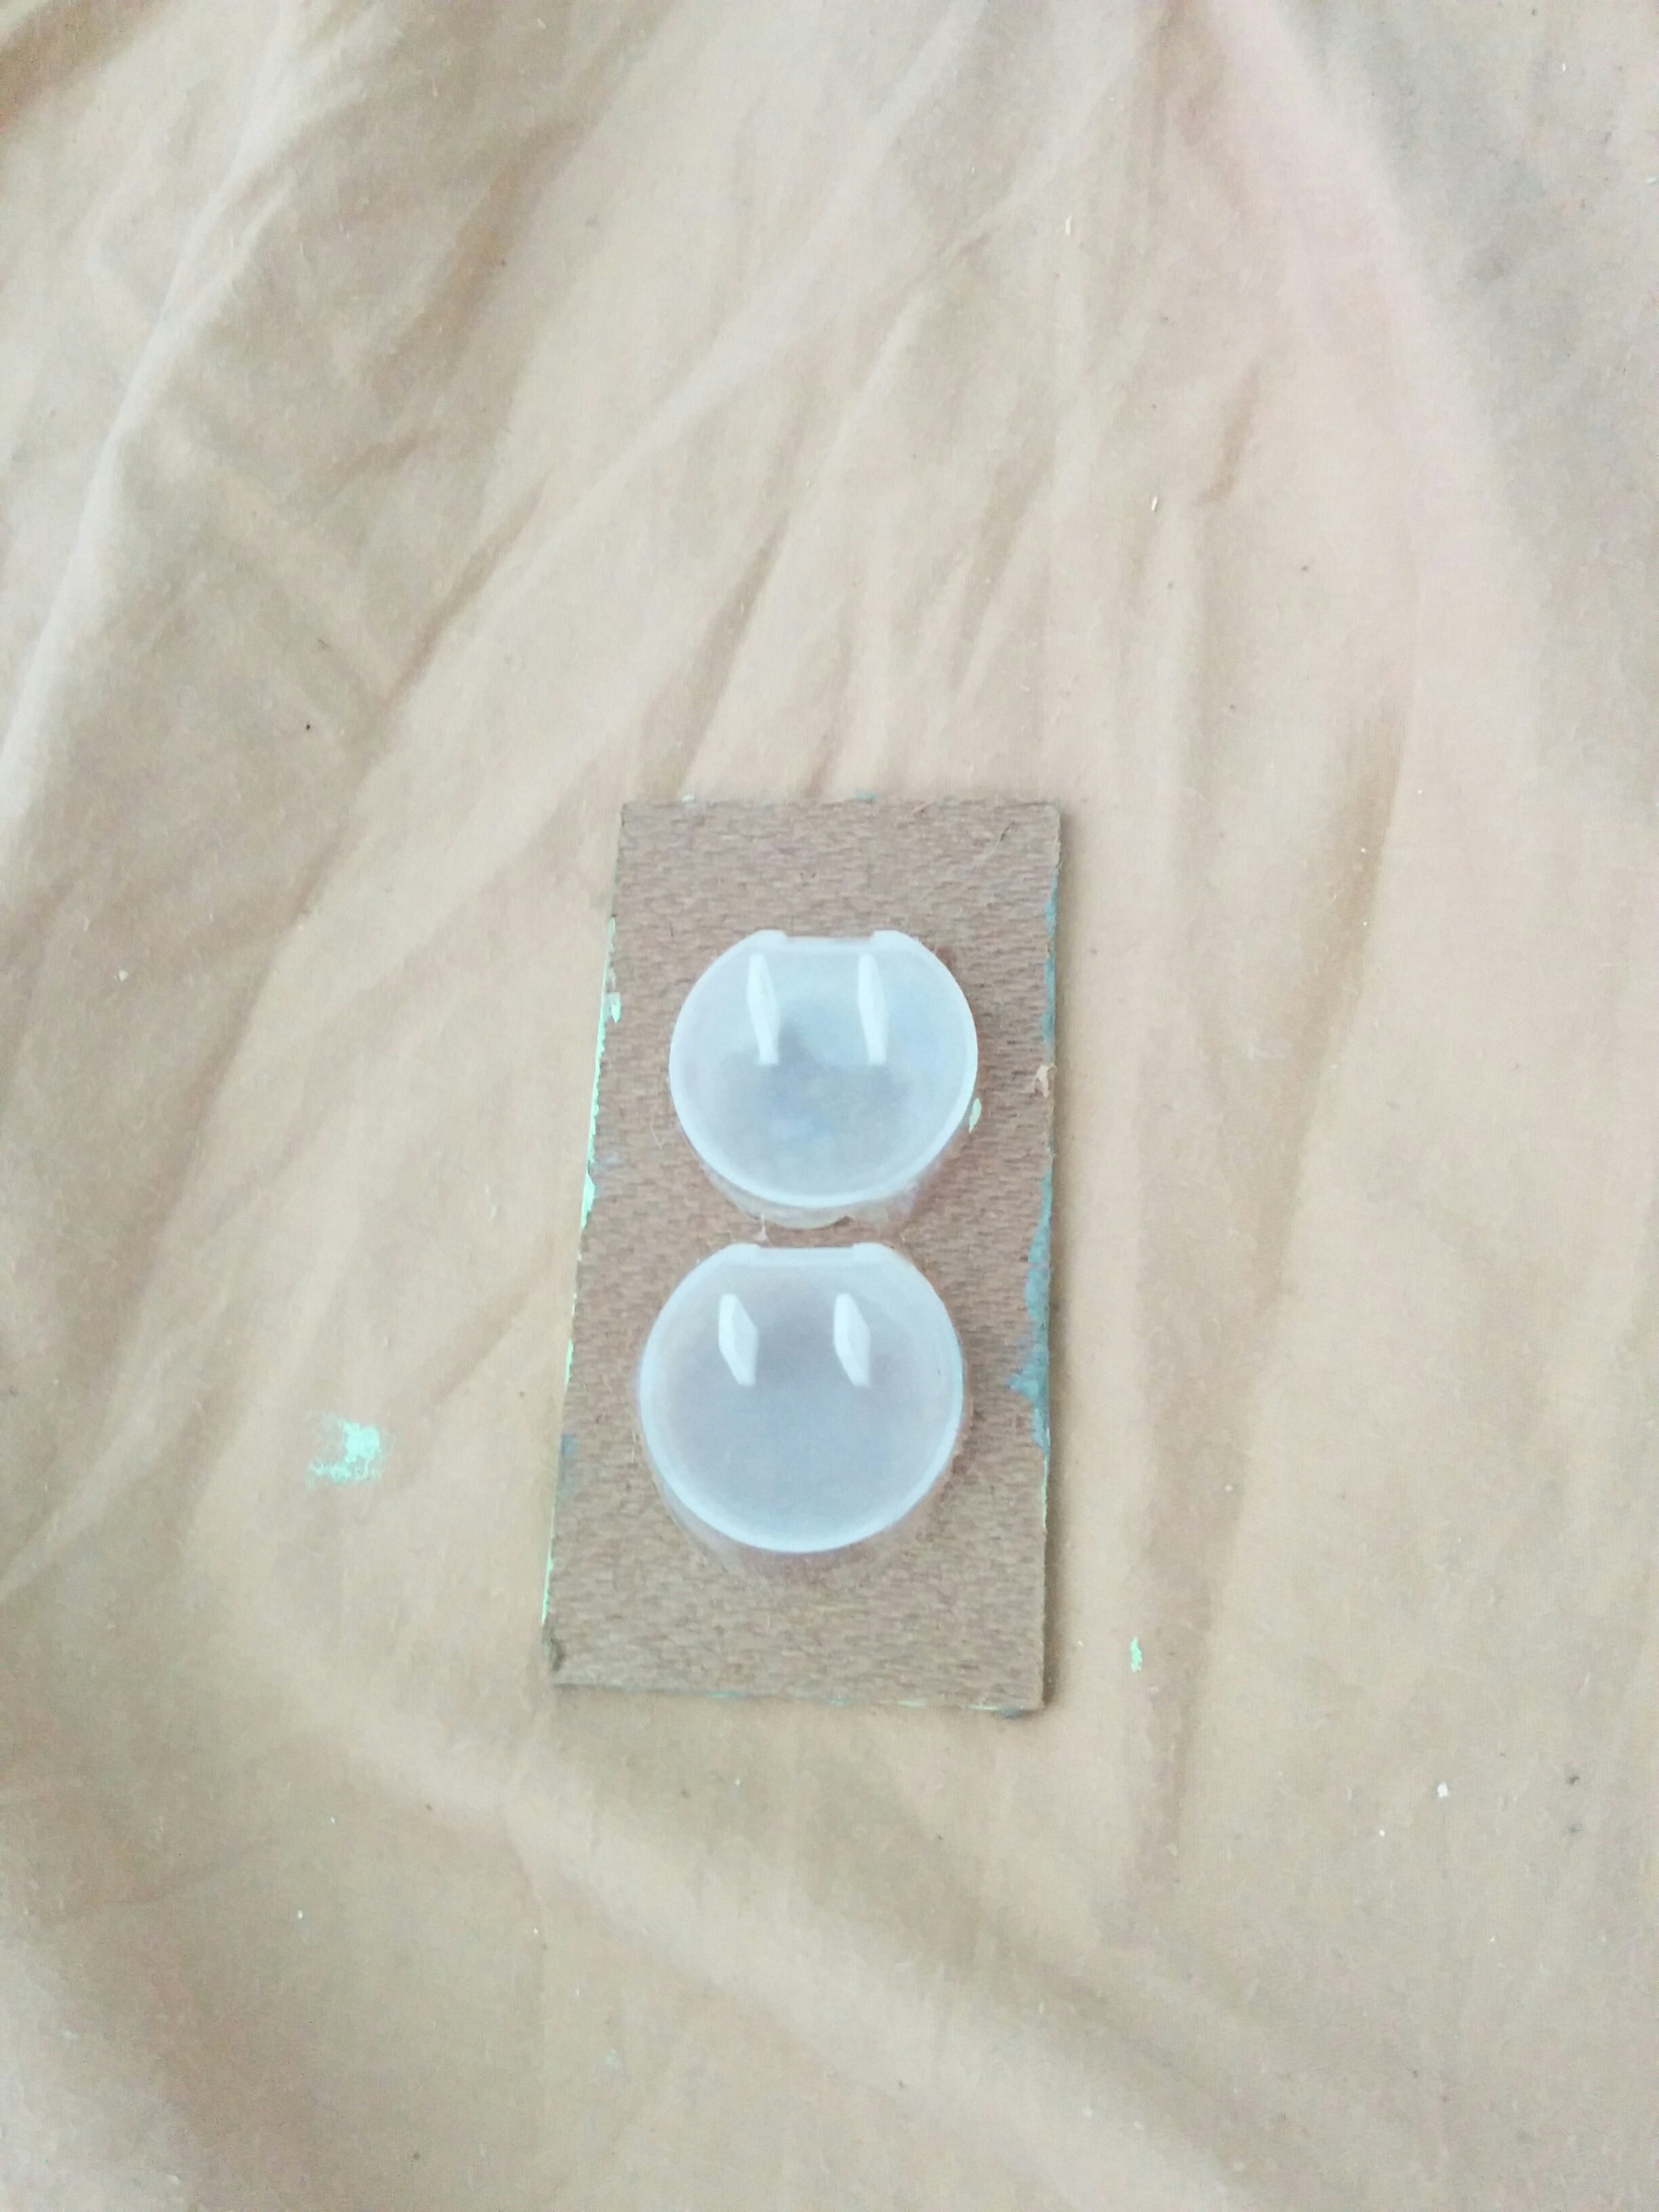
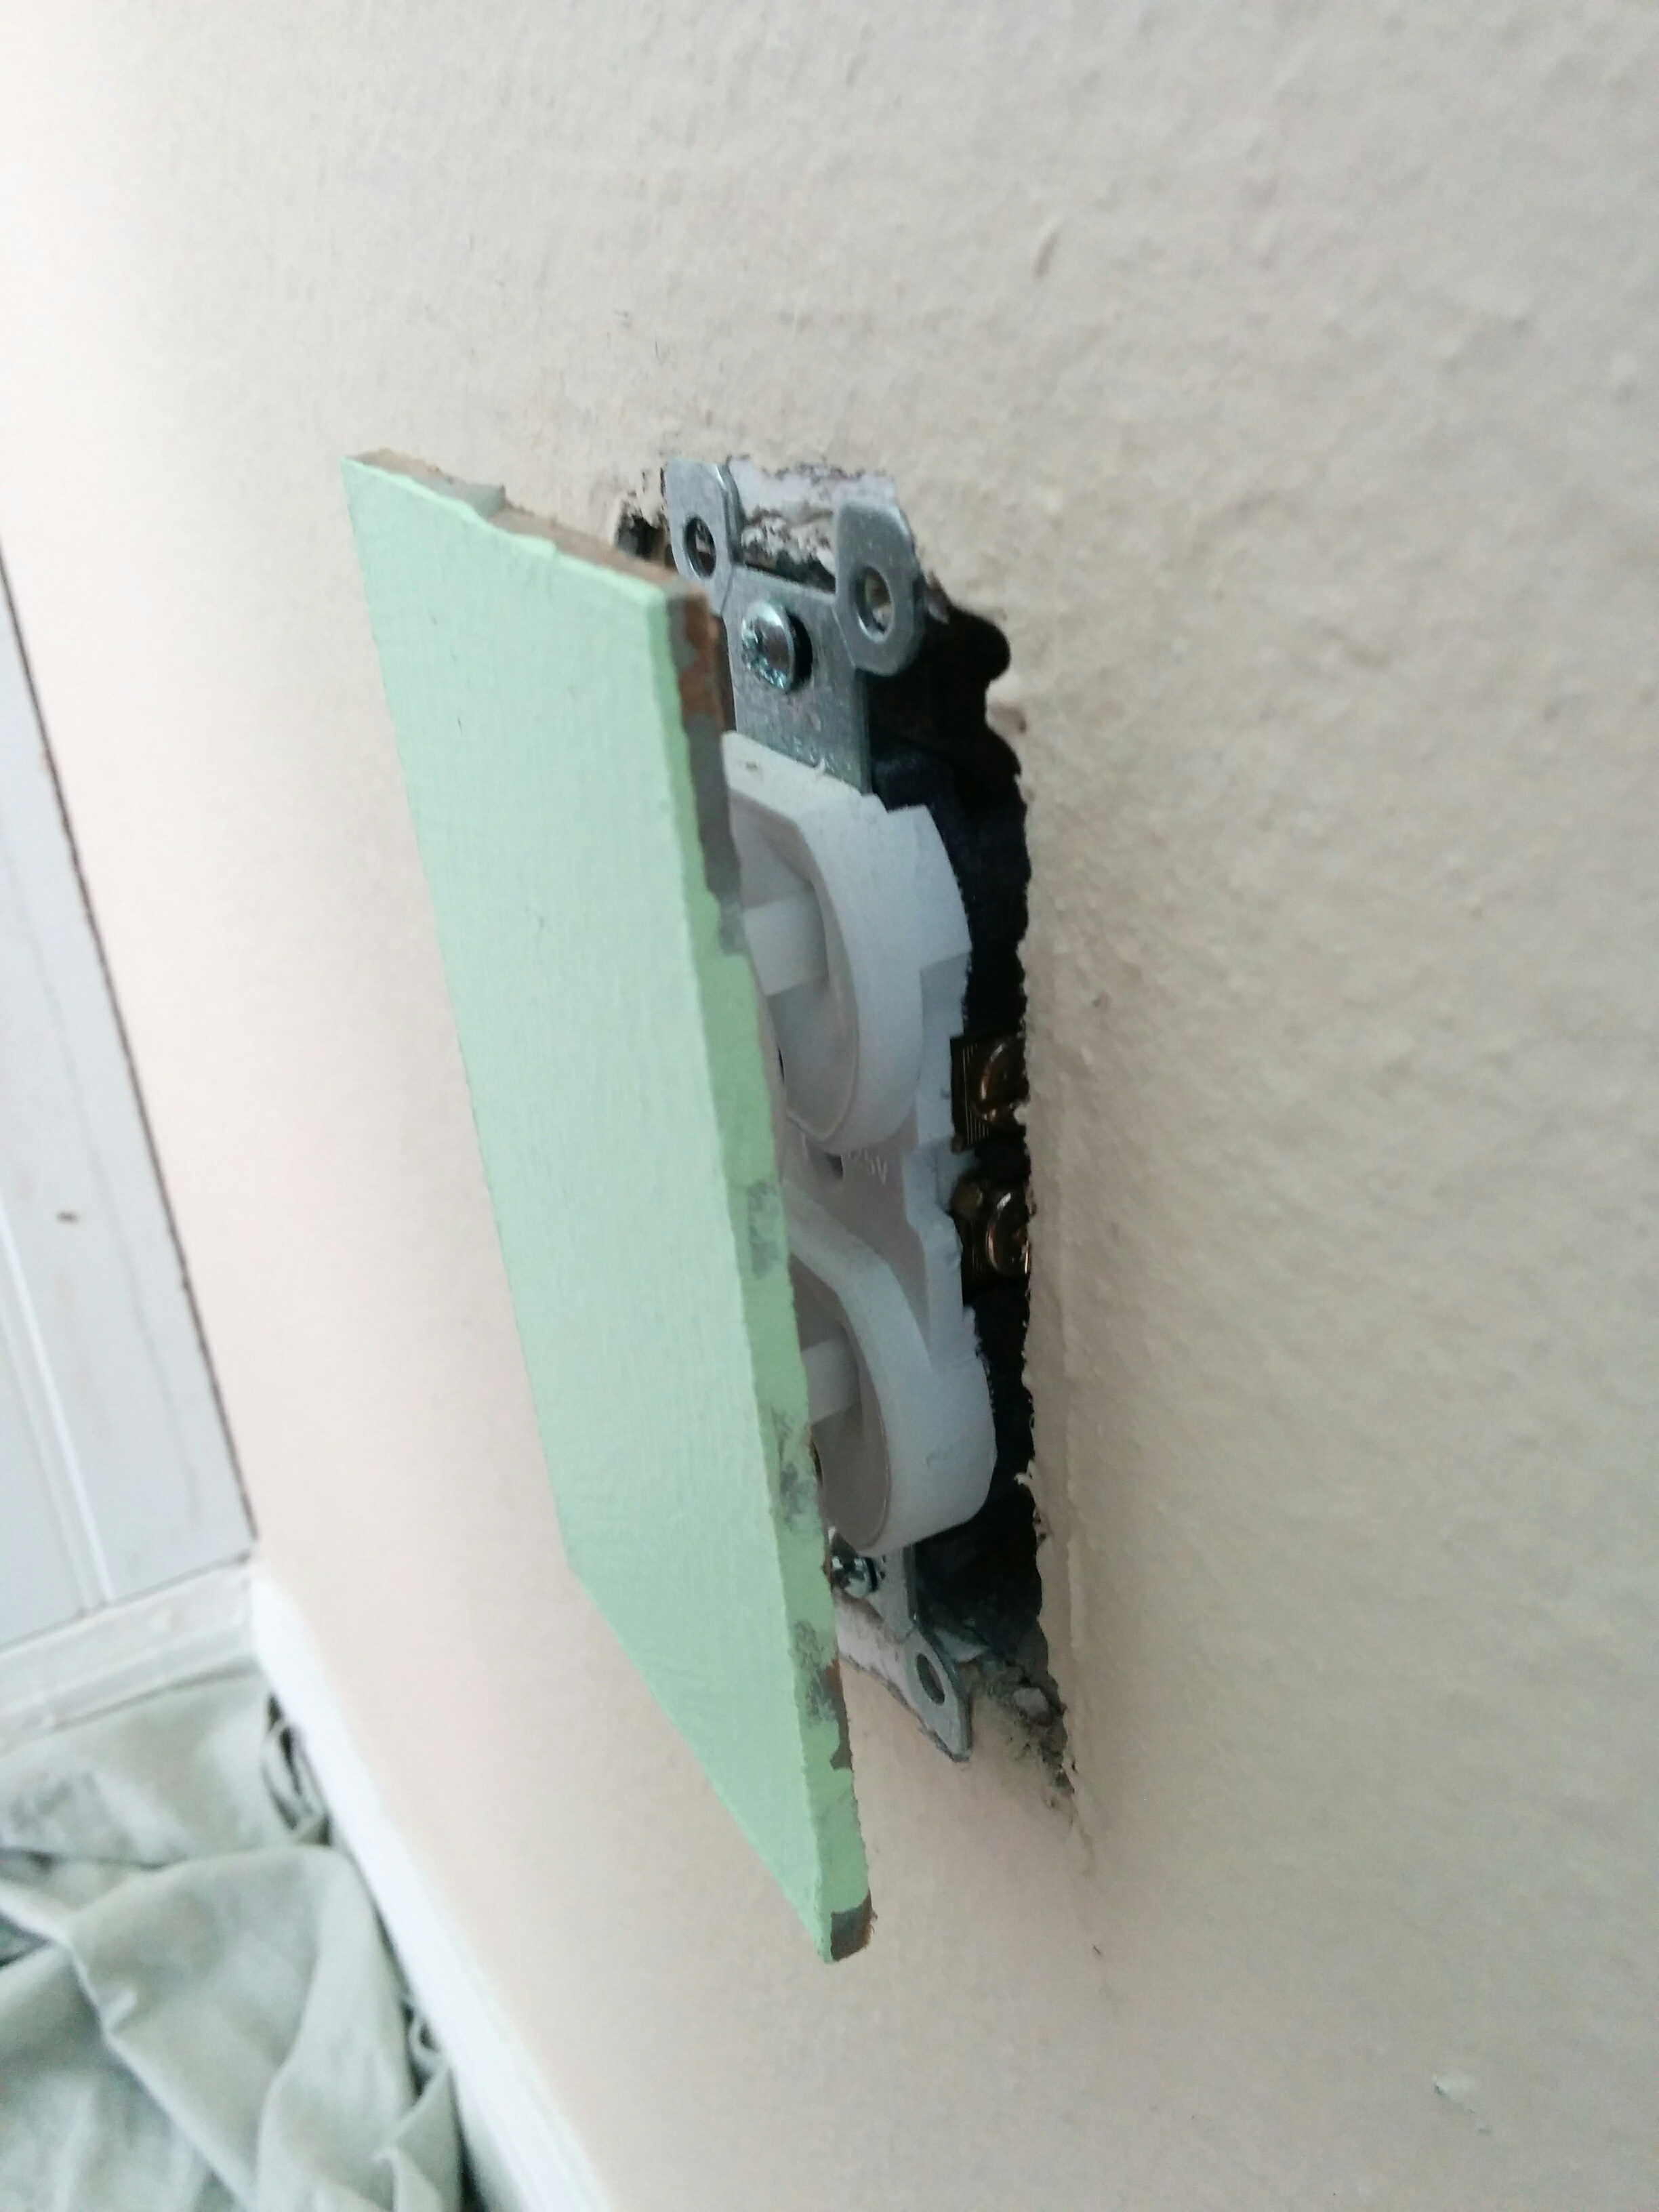
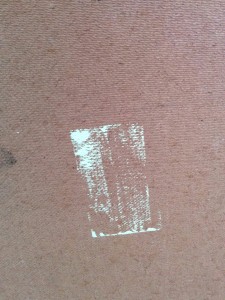
I took a piece of hardboard the size of an outlet and hotglued two outlet covers on. It was easiest to actually just push the outlet covers into the outlet and then glue them to the hardbaord to be sure they fit perfectly.  Next, I simply put a layer of whatever paint is laying around on it, stick it into the socket, and press the panel against the wall. It leaves a perfect outline of where I need to cut out.  I make the outline a little darker with a pencil then drill two holes, and use a jigsaw to cut it out.  Its a perfect fit everytime.

This only works currently for electrical outlets, but I’m thinking of building one for RJ45 (Ethernet) and RJ11 (phone) jacks as well.

Chair armrests

This isn’t worth a full page, so I’ll just put it in a post.  I had a set of outdoor chairs that I picked up on clearance a long time ago.  I’ve already got my money out of them, but when they started to rust, I wanted to see what I could do.  I wire-wheeled the rust off as best I could and used a phosphate rust converter to get the remaining surface rust converted to ferric phosphate.  From here, I painted the chair.  Unfortunately, the surface was just going to rust again and even had some remaining holes in it.  To deal with this, I made a set of custom red cedar armrests, curved to fit the chair.  Red cedar is perfect because even without finish, the wood won’t rot and maintains a very pretty finish (though it will turn grey).  I considered doing a laminate to fit the curve, but instead I traced the shape and cut it out on my bandsaw.  After a whole lot of sanding and fitting and sanding and fitting I finally got to with 1/16″ along the curve.  A simple bit of rubber mat between the metal and wood kept it from rattling and is hidden nicely.

IMG_20150726_170253

I plan to do the other chair.  Perhaps for that one I’ll do a laminate.

Baby girl


If very few posts show up on this new site, its because my wife and I are happy to announce the birth of my daughter.  Shes a happy little baby girl born on 11/15/2015.  More updates once we’ve slept a bit.

12239673_10104650402487982_859129441518262182_n 12208404_10104651783211002_5690826953991874813_n

New Site!

After closing down my previous site a while back because of some frustration with the hosting provider and just a lack of interest in maintaining what I had built, I’m going back to basics!  This new site will most likely be a simple blog.  Show off some of the projects I do at work, some of the woodworking projects I’ve done at home and anything else I feel like.

A second site is in the works for a possible YouTube channel I’m considering putting out after my daughter is born.  Look for more posts on that.